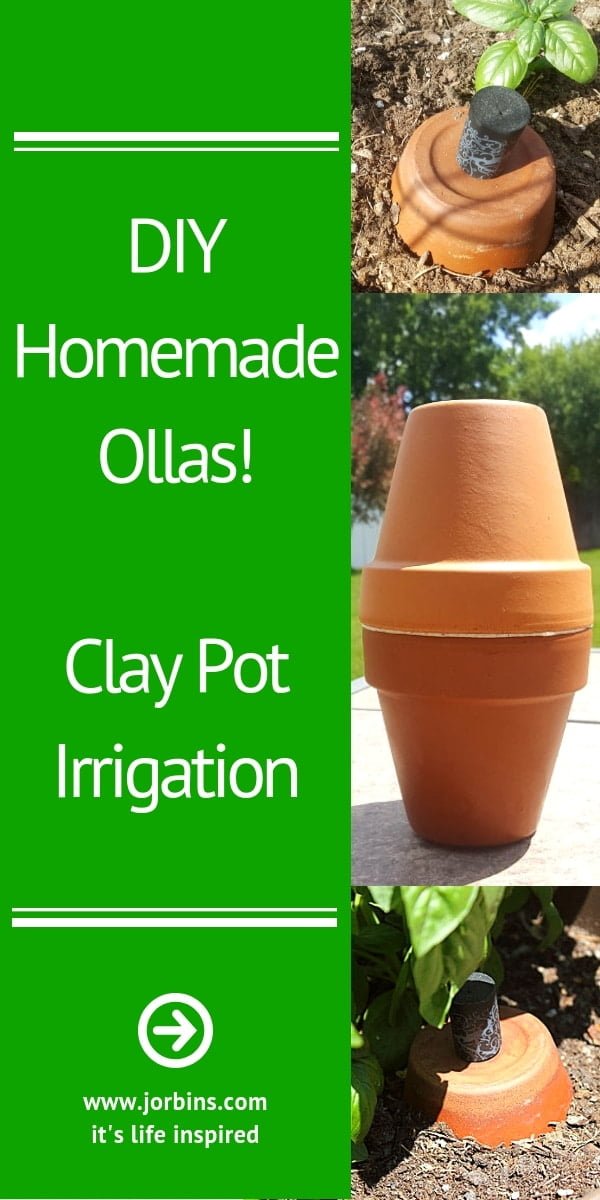
So do ollas work for garden irrigation? I tried using DIY homemade terracotta clay olla pots to water my potted plants and raised beds this year. In this article, I will share my experience with you.
My DIY Olla watering pots turned out to be an excellent alternative plant irrigation method in my garden this year. To be honest, I was quite pleased and even surprised by the results. I know I watered less frequently, I used less water per watering than I normally did, and I had less worry about my plants getting enough water or not. I even took a vacation for a week and didn’t have to worry about watering. Overall, my plants did much better this year than in past years.
I ran across the idea of using clay olla pots for garden irrigation late last winter just before spring. I was starting to plan what I wanted to do with my raised beds in the coming growing season. One thing I wanted to do differently is to find more efficient DIY ways to water my garden. So, I began my search to see what I could dig up.
I spent a few weeks reading and learning all I could. I’ve wandered onto many interesting garden irrigation methods other gardeners were using. I’ve seen some gardeners using plastic bottles, gallon milk containers, drip irrigation, the gutter method, self-watering garden beds, deep PVC, etc. There were so many different ideas and methods out there to experiment with. I couldn’t decide which one I wanted to try!
Continuing my research, I was trying to narrow my selection down when I just happened to catch the word ollas in the title of a video.
I immediately thought to myself, “Ollas? What are those?”
I decided to dig deeper and quickly found that this could be an easy to use and inexpensive method to try, at least until I get the money and time to try others.
So, What Are Ollas?
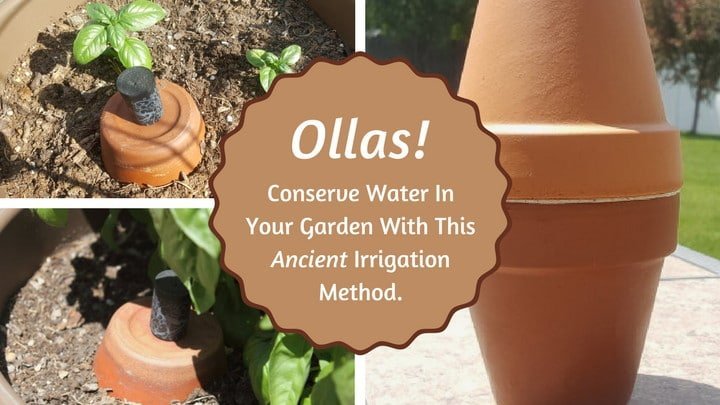
Ollas aren’t anything new, far from it. They are actually an ancient low-tech method of small-scale crop irrigation. Over time newer irrigation methods replaced ollas as farms grew larger and methods of obtaining water became easier, but there are still some places in the world that use olla irrigation today.
An olla watering pot is just a clay pot or vase with a long neck and a wider base called a belly. This pot is made of hardened clay (terracotta) that hasn’t been painted, glazed, or coated in any way. For good reason. The properties of the unglazed clay make it perfect for subsurface garden irrigation.
How To Irrigate With An Olla
Olla irrigation is extremely simple. All that must be done is to bury the clay pot near plants with the stem or opening left unburied. Fill the olla with water then cap the opening so water does not evaporate, insects (mosquitos) do not lay eggs inside, and debris cannot get into the olla. Keep the olla filled as needed throughout the growing season.
That sounds easy, but how do they work for watering a garden? Well…
It’s All In The Clay!
It’s rather ingenious, really. The uncoated hardened clay an olla watering pot is made from is very porous. When it is filled with water, the pores allow the water to seep through the wall of the clay. The outside of the olla will slowly become saturated and sweat beads of water.
When an olla watering pot is buried, the surrounding soil will begin to pull water out of the belly. A term commonly used for this is capillary action or wicking. It’s like dipping the end of a string in water and watching the water climb up the string. Water moves from areas of wet (high pressure) to dry (low pressure).
Wicking, Saturation, And Olla Spacing
During wicking, the soil near the olla watering pot will slowly become saturated. Water will spread through the soil away from the olla. The soil will be less saturated the further away from the olla it gets. The moisture area from the act of wicking is called the spread or saturation range. This saturation range can be maintained and plants will have an ample supply of water so long as there is water in the olla.
The saturation range can vary from soil type to soil type and from the size of the olla itself. Permaculture Research Institute has an excellent article that contains a chart of spread ranges for various sizes of ollas. This chart can give you a good starting point to determine the size of an olla you need and also olla spacing. You will also find various layouts you can use.
Porosity Of The Clay
One thing to keep in mind is the porosity of the clay an olla is made from. Porosity determines how fast water seeps into the surrounding soil. Oversaturation can occur when the pores in an olla allow water to seep at a faster pace than the soil can spread through wicking. This may be fine if plants like soil that is more saturated, but it is wise to best match the clay’s porosity with the plant’s needs and with the soil type being used. Without knowing the exact properties of the clay this can be very difficult to do.
An easy way is to control soil saturation is to monitor soil moisture with a meter and fill the clay ollas as needed based on the moisture reading. Let the soil dry a bit before adding more water to the olla if the soil meters too wet. Another method of saturation control is to bury the olla a little further away from your plants to where your plants are in a lighter saturation zone.
Conserve Water In Your Garden With An Olla
When top watering, there is water loss through evaporation, water runoff to areas of the soil that the roots of your plants are not in, and the amount of water needed to penetrate deep into the root zone.
With olla irrigation, the water is being distributed deeper in the soil near the plant’s roots making it much more efficient and significantly reducing the amount of water loss due to evaporation.
Plants nearby will also send out water-seeking roots. These roots will latch onto the olla forming a dense mat. The plant will take in the water it needs as it needs it. Basically, a clay olla pot is a direct watering line to the root of the plant.

Make Your Own Ollas, It’s Simple!
While there are ollas for sale commercially, they are somewhat hard to find in many areas and can get quite expensive depending on your garden size and the amount you need.
For smaller applications there are terracotta plant watering spikes that are relatively inexpensive. See: What Are Terracotta Plant Watering Spikes?, What Are The Benefits of Using Terracotta Plant Watering Spikes?, and What Are The Cons of Using Terracotta Plant Watering Spikes?
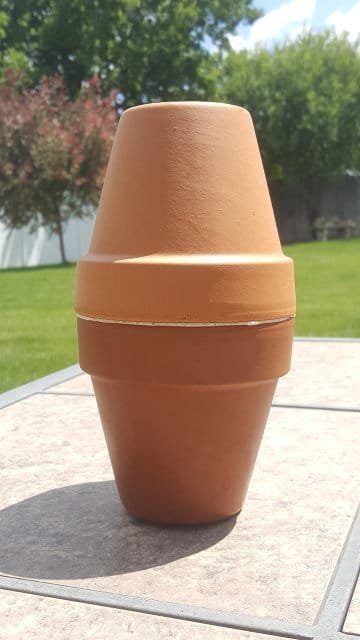
There have been a few people that have found unique ways of making their own DIY ollas and homemade olla watering systems from unglazed clay terracotta flower pots. These pots are very inexpensive and do work well. The variation I made costs less than two dollars per olla to make and held 1000ml (1 liter) of water each.
One of the simplest DIY ollas to make is to plug the hole at the bottom of a terracotta flower pot, bury it in the soil leaving the top opening ¼” or so from the top of the soil. Cover the top of the pot with a drip saucer once filled. Tanya from Lovely Greens has a great video explaining this.
Another DIY method is to leave the hole open at the bottom of a terracotta pot. Glue or silicone caulk the saucer upside down to the top of the pot. Bury this so the opening remains above ground and cover the hole with a rock or cork. Central Texas Gardener has a video featuring Trisha Shirey and Colleen Dieter of Red Wheelbarrow Design who shows how to make this style of olla.
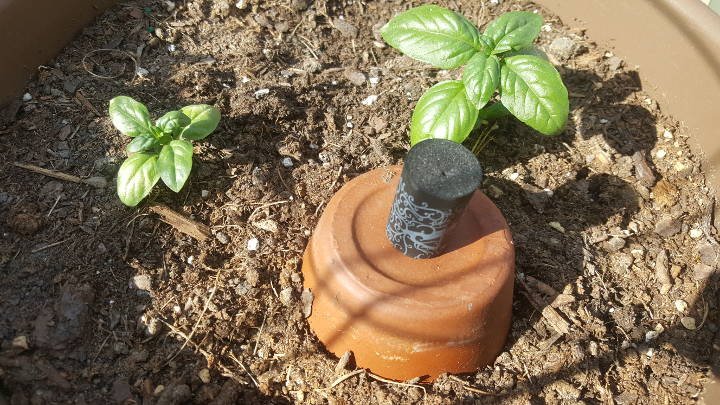
Ollas? Oh Yeah!!!! Is the video that set me on the path to testing out ollas this year. It is the DIY style of olla that I used. In the video Clint shows how you can make ollas from two terracotta pots with the tops sealed together with silicone caulk. The drainage hole on one of the pots is sealed shut. The other end is left open as a fill hole. He also shows how the ollas leach water with a time-lapse.
On a side note: You can try to making ollas from plastic bottles, milk jugs, PVC pipe, etc. They are not nearly as effective and they simulate more of a drip irrigation method instead.
Advanced Olla Systems
There are more advanced olla watering systems you can use. Olla drip capsules are one such system. They are enclosed capsules or olla balls with drip tubing running into the olla. The olla’s water level is maintained from a gravity-fed tank or rain catcher. This type of system is a time saver. It reduces the need to individually fill each olla ball every few days giving the soil and plant a consistent supply of water.
One of my favorite sets of videos outlining this type of olla irrigation system is from a gentleman at High Desert Garden. To make it easy, here is a complete playlist of his olla videos. These videos are well worth the time watching. He shows you how to set up a drip olla system and shows you the results he had with that system.
When you watch the videos, take notice that he does not have to leave an opening above the soil. He can bury the whole system below the surface of the soil at a depth he so chooses. Brilliant!
My Own Experiences With Ollas
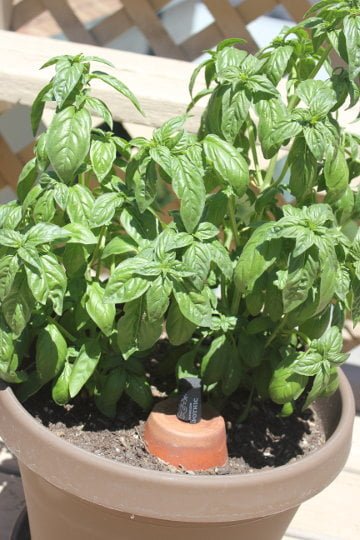
Since this was a test year, I buried most of my DIY olla clay pots in plastic flower pots that were different sizes. These flower pots were put on a hot deck in full sun throughout spring and summer. I used a meter to monitor the moisture of the soil day by day throughout the spring and summer.
I monitored the soil wetness on a stretch of days that was 75 to 90 degrees. The olla would be empty on the evening of the third day after filling it and I left it empty. I found that the soil I used metered wet on the third day. It metered moist on the fourth day and stayed in the moist range (low end moist) for one more day. It metered in the dry range on the 6th day. This was consistent across a few weeks of testing in this temperature range. I filled the olla once a week on the 7th day.
Stretches of days that were 90 to 107 degrees were a little different. I found the olla would dry in 2 days and the soil would meter wet on that 2nd day. The soil metered moist on the 3rd day and in the dry range on the 4th sometimes 5th day. I found myself filing the olla every 4 to 5 days. When there was a stretch of 100+ degree only days I was filling every 3 days.
I was also metering other potted plants that didn’t have ollas. The watering frequency was much more. About double. In the 100+ degree days, it wasn’t uncommon that the soil would meter dry in 2 days at most. Typically, it was a day and a half. During days that were 75 to 90 degrees, the soil would meter dry in 3 to 4 days.
It is interesting to compare the two above. The soil would dry the same rate when the water source was removed (of course), but the watering frequency reduction is due to the amount of time the olla extends the watering process. The slow release of water deeper into the soil greatly helped extend the time between watering.
I didn’t measure the water when I was top watering. I wish that I did and I apologize for not doing so. However, I was using far more water than the 1 liter in a single olla. When I top watered, the water would drain out of the pot, it was difficult to get full penetration to the center of the pot forcing me to water more, and I was watering more frequently. That is what I can tell you for sure.
Common Questions
There have been a few questions that have come up when discussing ollas with other gardeners in my area. I will list some of the common ones.
Can I fertilize through an olla?
There is nothing that says you can’t try. However, I did not test the ability to fertilize through an olla. I would question how much fertilizer is passing through and how much is lost in the pores of the clay. I would also imagine that fertilizer would increase the likelihood of the pores clogging. I’ll let the pros handle this one as I do not have the means to fully test this. I may give it a shot next spring.
Can you leave ollas out over winter?
Yes and no. Clay olla watering pots should be removed and stored in a safe place in climates where the ground freezes. If the ground does not freeze it should be ok to leave them in the ground. However, there will be moisture consistently passing in and out of the olla. Over time the pores can clog. It may be better to just remove them when not in use.
Is there an easier way to tell if an olla is ready to be filled or not?
There are modifications you can make to an olla that allows you to see at a glance the water level. Here is a video of a gentleman that made a level indicator using a float and a flag. When the water decreases the flag lowers. When the water increases it raises. This is a good idea that a person can get really creative with.
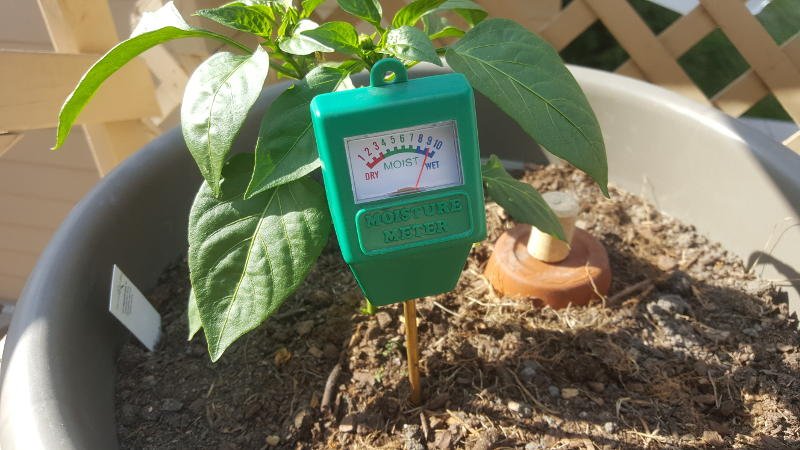
Is it typical that the soil on top will look dry?
I panicked when I first saw this myself. I found that it is not uncommon for the soil at the surface to be dry. A good example is in the pictures above that shows the moisture meter. You will see that the soil looks very dry. The moisture meter is taking reading three to four inches below the surface. It is reading wet. If your olla has water in it and you use a moisture meter you will find that the moisture in the soil will be just fine.
Do mineral deposits form on ollas?
Over time I have noticed staining and mineral deposits on my ollas. These deposits have formed primarily on the top inch or two that is exposed to the sun where evaporation occurs. There has not been any mineral deposits of significance that have formed on the lower part of my ollas. Which is the part that are typically buried.
For pictures and cleaning instructions see: How To Clean Dirt, Stains, and Mineral Deposits From Ollas.
The whole in the olla is quite small. How do you fill it easier?
I use a funnel to fill mine. See: Use a Funnel To Fill Your Homemade Ollas.
Updates And Notes On Using Ollas
Wrapping Up The Olla Garden
The gardening season is coming to an end now. The nights are starting to cool and the days are starting to get shorter. As I am finishing my harvest of this year’s crops, I can look back at when I was just starting my olla experiment and know that it was all worth it. It’s hard to imagine something as simple as a clay olla pot could save me so much time, worry, and precious water.
I hope you enjoyed reading about my experience with clay olla irrigation. If you would like to discuss more or share your own experiences please leave a comment below. I sure would love to hear from you.
I would extremely grateful if you would help others get life inspired and share this post with friends and family.